

A subfloor is the sturdy, hidden layer that sits directly underneath the floor you walk on. Picture how a house is framed: thick wooden beams run across each room like the rungs of a ladder. Builders call these floor joists. On top of those beams, large flat panels are screwed down to create one solid surface. That layer of panels is the subfloor. Your finished floor, whether laminate, vinyl, hardwood, or tile, rests on top of it and depends on it being flat, dry, and solid.
Most flooring problems people blame on the floor itself, like squeaks, gaps, and soft spots, actually start below it. This guide covers what a subfloor is, which materials are used, how to evaluate the one you have, and how to install a new one correctly. It ends with the one step almost every subfloor guide skips: planning your floor vents while the subfloor is still exposed.
Subfloor vs. Underlayment vs. Finished Floor
Your floor is a sandwich of up to three layers.
Subfloor. The solid base layer screwed to the beams that hold your house up. Usually plywood or OSB panels, or a concrete slab in basements and homes built on a slab.
Underlayment. A thin middle layer added when the finished floor needs it. Foam under laminate, cement board under tile, or a moisture barrier over concrete. Not every floor needs one.
Finished floor. The layer you see and walk on.
The subfloor is permanent. Underlayment and finished flooring get replaced over the life of a home, but the subfloor typically stays until it fails. That is why getting it right matters more than any layer above it.
Subfloor Materials: Plywood vs. OSB
Nearly every wood-framed home uses one of two panel materials. The exception is basements and slab-on-grade homes, where the subfloor is a poured concrete slab instead of wood panels. Concrete is solid and stable but holds moisture, so it needs its own moisture test and often a barrier before flooring goes over it.
| Plywood | OSB (oriented strand board) | |
|---|---|---|
| Made from | Thin wood veneers glued in alternating layers | Wood strands pressed with resin |
| Moisture response | Dries faster, swells less at edges | Slower to dry, edges can swell and stay swollen |
| Fastener holding | Slightly stronger | Good, slightly below plywood |
| Cost | Higher | Lower |
| Best for | Bathrooms, kitchens, tile installs | Bedrooms, living areas, budget builds |
Both work well when installed and protected properly. Plywood is the safer choice in moisture-prone rooms. OSB is dimensionally consistent and costs less, which is why most new construction uses it.
How thick should a subfloor be?
The standard is 3/4 in (19 mm) panels when the beams underneath are spaced 16 in (406 mm) apart, which is typical in most homes. Beams spaced wider apart, or heavy finishes like stone tile, call for thicker panels or an added layer. Older homes may have subfloors made of narrow wooden planks laid diagonally, which usually need a plywood layer over top before new flooring goes down.
How to Check Your Existing Subfloor
Before installing any new flooring, walk every room and look for these signs.
Soft or spongy spots. Usually water damage. The panel needs replacement, not a patch over top.
Squeaks. The sound of panels rubbing against nails or the beams below as you walk. Fix by driving screws through the panel into the beam underneath. Screws hold, nails work loose.
Moisture. The most important check and the most skipped. Wood subfloors should read below about 12 percent on a moisture meter, and within a few points of the flooring being installed over them. Concrete needs its own moisture test before any glue-down or floating floor. Visual inspection is not a moisture test.
Flatness. Most flooring manufacturers require the subfloor flat within 3/16 in over 10 ft (5 mm over 3 m). Check with a straightedge. Sand high spots, fill low spots with leveling compound. Vinyl plank is especially unforgiving, since every dip and ridge telegraphs through it.
Fixing these problems costs little while the floor is open. Fixing them after the finished floor is down means tearing it back up.
Installing a Subfloor: The Details That Matter
If you are laying new subfloor panels, these habits separate a quiet, flat floor from a callback:
- Test moisture first. Both the panels and the beams they sit on. Panels stored outside need to dry before installation.
- Glue and fasten as you go. Run adhesive along one or two beams, set the panel, and screw it down while the glue is still wet. Adhesive that skins over before fastening loses most of its bond, and a weak bond is where squeaks come from.
- Gap the panels. Leave 1/8 in (3 mm) at panel edges so seasonal expansion has somewhere to go. Tongue-and-groove panels usually self-gap.
- Lay panels across the beams, not along them, and stagger the end joints so no four corners meet.
- Match the adhesive to the job. Subfloor adhesive for panel-to-beam. And later, when the finished floor goes down, confirm the flooring adhesive is rated for your subfloor material and its moisture level. Vinyl adhesives in particular can fail over a damp subfloor, letting planks shift and lift.
- Acclimate everything. Panels and finished flooring should sit in the room at normal living temperature and humidity before installation.
Plan Your Floor Vents Before the Flooring Goes Down

If your home has heating or cooling that comes up through the floor, there are openings in your subfloor where the air comes out. Most subfloor guides never mention them, but this is the moment they deserve a decision.
You have two options for covering those openings:
Drop-in vent covers sit on top of the finished floor. They are easy to add anytime, but they stick up and interrupt the surface.
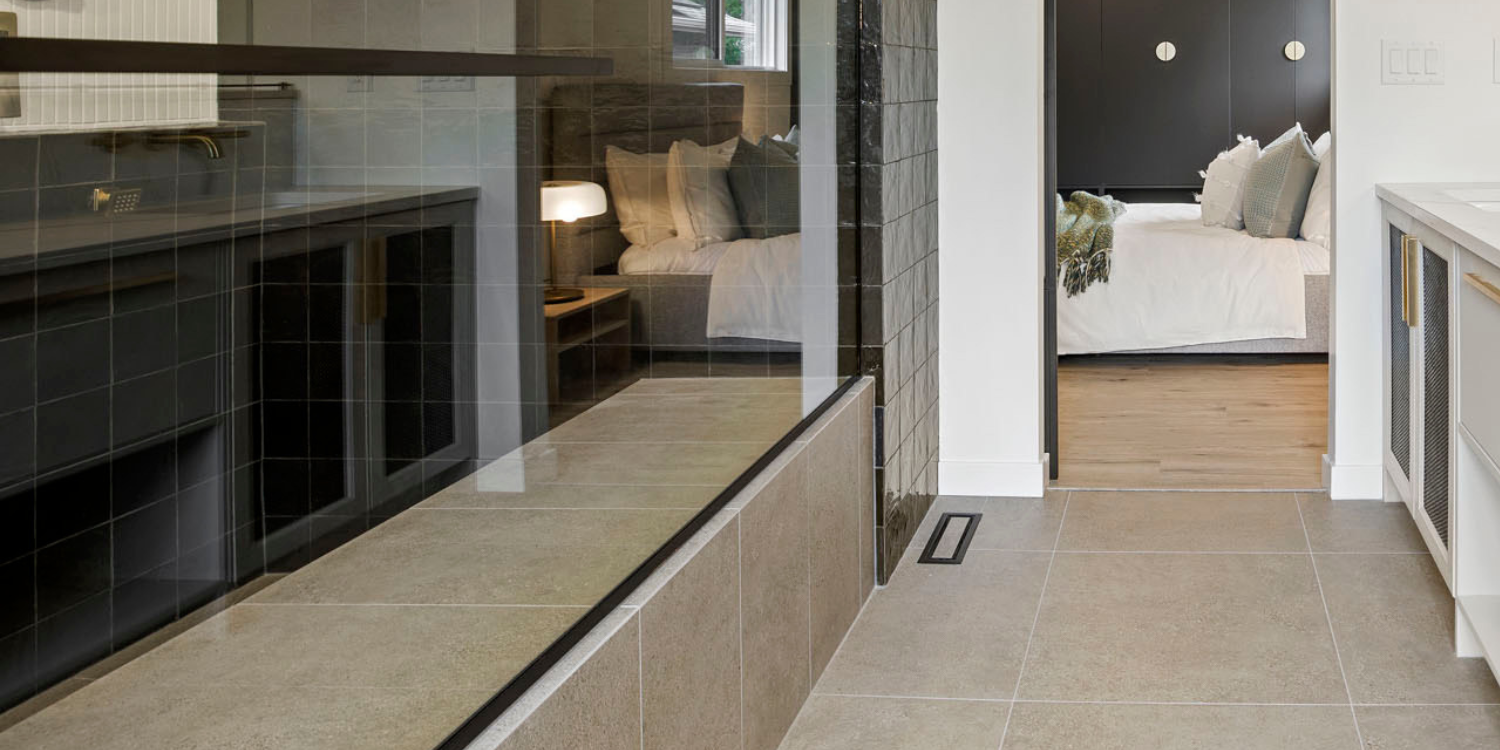
Under Mount vents (often called flush mount vents) sit level with the floor, holding a piece of your actual flooring so the vent nearly disappears. The catch is timing: the vent holder installs at the subfloor stage, before the finished floor goes down. Adding one later means cutting into a finished floor.
If you like the flush look, decide now. It is a five-minute step during installation and a much bigger job after.
Flooring Thickness for Under Mount Vents: The Numbers
Here is how the system works. A Fittes Under Mount vent has two parts: the vent itself, which is installed into the subfloor before your finished flooring goes down, and a removable tray that sits inside it. You cut a piece of your own flooring and fasten it into that tray. Drop the tray into the vent and the vent blends into the floor, because what you see on top is your actual flooring.

Because the tray can be screwed into either the vent frame or the flooring piece itself, it accepts a wide range of flooring. Anything from 3/16 in to 1 3/8 in thick (0.5 to 3.5 cm) works.
The slot the tray sits in is about 5/8 in (1.5 cm) deep. Think of that as the depth you need to fill. If your flooring is thinner than 5/8 in, you add a spacer under it to make up the rest. For example, 3/8 in (1 cm) flooring needs a 3/16 in (0.5 cm) spacer. A scrap of plywood is the usual choice, but any material that holds up to being walked on will work.
Tile is the one exception. Screws do not hold in tile, so with tile everything has to fasten to the vent side instead. That puts a hard ceiling on tile thickness: 1.4 in (3.5 cm). Any thicker and the tray sits up above the vent with nothing left to screw the insert piece into.
Flooring thicker than the maximum can technically work, but the tray will no longer seat inside the vent slot. At that point the fit around the opening has to be completely gap-free, because any gap lets your heated or cooled air leak out around the edges of the vent instead of blowing up through it.
Under Mount Vent Flooring Specs at a Glance
Flooring range: 3/16 in to 1 3/8 in (0.5 to 3.5 cm). Tray slot depth: 5/8 in (1.5 cm), shim thinner flooring to fill it. Tile maximum: 1.4 in (3.5 cm), fastened on the vent side only. The vent holder installs at the subfloor stage.
Floors Already Installed? There Is Still an Option
If your finished floor is already down, a framed vent gives you the same flooring insert and the same modern look as an Under Mount vent, with a slight lip at the edge instead of sitting dead level. It drops into the existing opening with no cutting into your floor. Not quite flush, but close, and available at any stage of a project.
Subfloor Prep by Flooring Type
Laminate flooring. Floats over the subfloor with a foam underlayment. Needs the subfloor flat and dry above all. Laminate installed over plywood or OSB is fine as long as flatness is within spec, since floating floors cannot bridge dips.
Vinyl plank (LVP). The least forgiving of subfloor imperfections. Every high spot and piece of debris shows through eventually. Clean, flat, and dry, in that order.
Hardwood. Solid hardwood is nailed down, so fastener holding matters. 3/4 in plywood is the classic base. Check that subfloor and hardwood moisture readings are within a few points of each other before nailing.
Tile. Needs the stiffest floor of all. Typically 3/4 in subfloor plus cement backer board, because any flex cracks grout lines.
Frequently Asked Questions
What is a subfloor?
The sturdy layer of panels hidden underneath the floor you walk on, screwed to the beams that frame your home. Usually plywood, OSB, or a concrete slab.
How thick is a subfloor?
Typically 3/4 in (19 mm) with beams spaced 16 in apart. Thicker for wider beam spacing or heavy floor finishes.
Is plywood or OSB better for subflooring?
Plywood handles moisture better and holds fasteners slightly stronger. OSB costs less and is more uniform. Both perform well when kept dry and installed correctly.
Can you install laminate flooring directly on plywood?
Yes, with the underlayment the laminate manufacturer specifies, as long as the plywood is flat, dry, and clean.
How thick does flooring need to be for an Under Mount vent?
For Fittes Under Mount vents, between 3/16 in and 1 3/8 in (0.5 to 3.5 cm). Thinner flooring uses a spacer under the tray to make up the difference.
Can you install an Under Mount vent with tile?
Yes, up to 1.4 in (3.5 cm) thick. Tile cannot be screwed into, so the tray fastens to the vent side only, which sets the hard limit.
Can you add an Under Mount vent after the floor is installed?
It requires cutting the finished floor around the opening. If the floor is already down, a framed vent drops in and gives a similar look with a slight lip.